September 15, 2010 at 11:16 am
· Filed under amanda, cheese, education, events
So, who is ACS and what is this conference? The American Cheese Society claims membership across the U.S., Canada and parts of South America. It’s an organizing body that helps the membership stay on top of trends, studies and industry changes. The conference is an annual event that brings together retailers, cheese makers, farmers, distributors, food scientists and more. The conference has a few events and presents topics of interest to these people. On our tour from Portland to Seattle, we had a few cheese enthusiasts. As an enthusiast, the conference is not really geared towards you. However, the topics are fascinating and with my volunteering hours, I was able to make it to a few seminars. I focused on the two topics that were of interest to me most: business and science. Here’s what I attended:
Read the rest of this entry »
Permalink
September 11, 2010 at 8:28 am
· Filed under amanda, beer, cheese, education, events

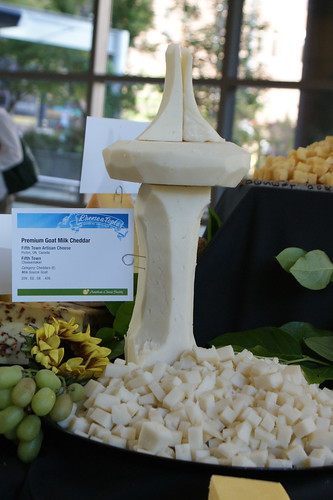
To kick off the 2010 American Cheese Society conference, there were three tours originating from points a few hours away from Seattle and visiting various creameries and retail stores along the way. After the Portland Wedge Cheese Festival last year, I got roped into volunteered to help lead the Portland to Seattle tour which left the morning before the festival, arriving in time for the opening keynote address that evening.
Our itinerary had us starting early in the morning in downtown Portland, visiting the Hollywood Whole Foods for snacks and then heading up to three Washington state creameries on the way to Seattle. We picked up cheese along the way and on the last leg, had a cheese tasting with wine and beer on the bus! My partner in crime, Bill Stephenson from DPI Northwest, was very adept at cutting the cheese at the front of the bus as I wandered the aisles with wine and some of the finest Oregon craft beer (graciously donated by the Oregon Brewer’s Guild).
We all had a lot of fun and only lost a little cheese when the bus braked hard and Bill’s cutting board went flying. For my part, I only spilled a little wine and beer on one poor guy who was very good-natured (and luckily wearing navy blue pants!). Here’s just a little wrap-up about the creameries we visited.
Read the rest of this entry »
Permalink
August 20, 2010 at 3:18 pm
· Filed under amanda, goat, tasting notes
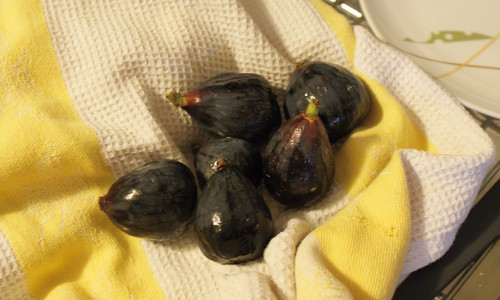
One of my favorite summertime pairings is figs with goat cheese. We first had this over at Rob and Maria’s house and try to make it every year. There are a few ways you can make this up and I’ve also done it warmed which is a special kind of delicious.
Read the rest of this entry »
Permalink
June 20, 2010 at 8:16 pm
· Filed under amanda, cheese, goat, making
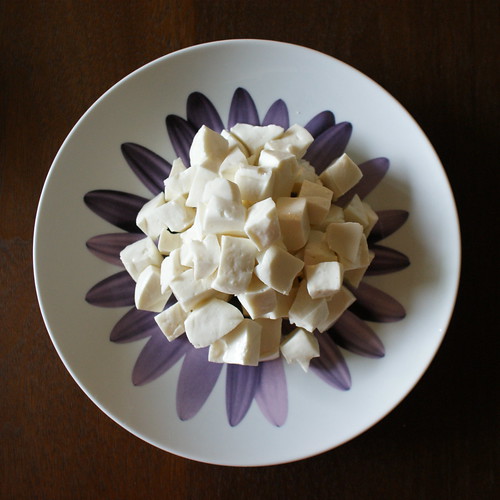
Holy hiatus, Batman! I have been incredibly busy, haven’t been making cheese and haven’t had time to write about some of the yummy cheeses I’ve been eating. However, lucky me, the ladies of FUCheese proposed a cheesemaking day and we actually made it happen. On the menu this time was something I’ve been wanting to make for over a year: feta!
Read the rest of this entry »
Permalink
April 2, 2010 at 11:06 am
· Filed under amanda, tasting notes
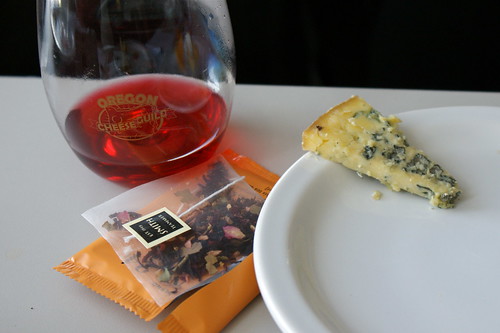
I did a writeup of the cheese and tea pairing workshop that we attended at the Oregon Cheese Festival. Check it out over at Beer + Cheese!
Permalink
March 26, 2010 at 9:28 am
· Filed under amanda, cheese, events
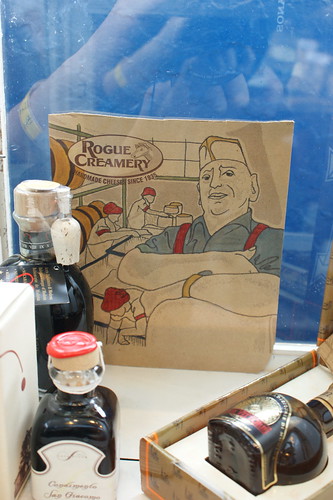
Ig Vella keeps an eye on the creamery!
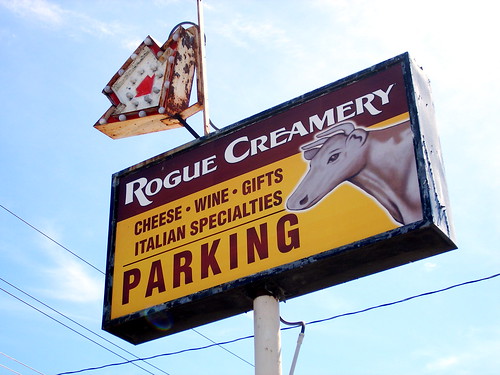
Another year, another visit to Central Point, Oregon, for the Oregon Cheese Guild’s annual cheese festival which coincided with the 75th anniversary of the Rogue Creamery. The tent this year was much bigger and better which seemed to keep the 4,000 cheese lovers from becoming a crush. Like last year, there were all kinds of vendors in addition to cheese: a number of wineries, meats, bread makers, jams, chocolate, beer, soda and tea. There is definitely something for everyone there and I really liked the array of vendors. The festival does a great job of highlighting food purveyors in the Applegate and Rogue Valley — stuff that I don’t see up in Portland. The wine in Southern Oregon is quite good — it’s drier and sunnier down there and you can taste the difference in the kind of grapes they’re producing.
Read the rest of this entry »
Permalink
March 15, 2010 at 10:42 am
· Filed under amanda, events
This will be the second year FUCheese travels down to Central Point for the Oregon Cheese Guild Cheese Festival hosted by Rogue Creamery. This year, we’re going to try to hold back a little bit and not eat the whole thing! We’ll be staying in Ashland so if you have any “don’t miss” restaurants or things to see, please comment! I’m hoping to attend more of the workshops this year and am looking forward to meeting Gordon Edgar and getting a signed copy of his memoir, Cheesemonger: A Life on the Wedge . Tami Parr wrote up an excellent review of his book and I can’t wait to get my hands on it.
Permalink
March 10, 2010 at 12:26 pm
· Filed under amanda, beer, cheese, tasting notes
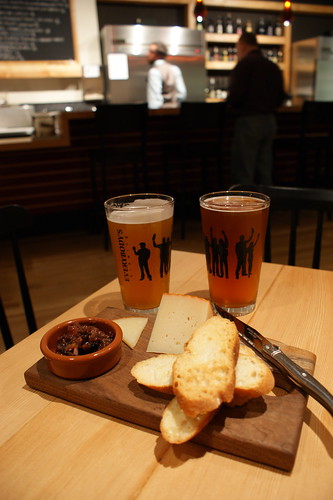
I’ve started up a new blog (Beer + Cheese) with my beer-loving husband and we’ll be posting about cheese and beer pairings plus other great food pairings over there. Last night we went to Steve Jones’ new Cheese Bar and wrote up a little review.
Check it out!
Permalink
March 5, 2010 at 12:13 pm
· Filed under amanda, cheese, tasting notes
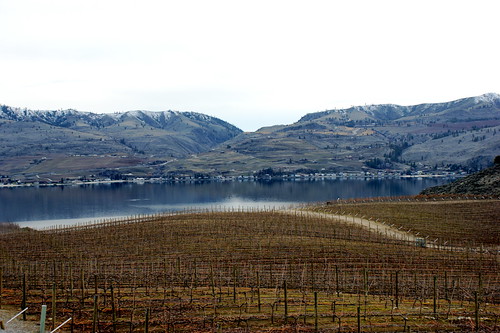
Lake Chelan and vineyard view from Benson Winery
My husband and I went for a long weekend at Lake Chelan in Washington. It’s the shoulder season so the lake was low, the sky overcast and the vast orchards and vineyards bare. However, we had a great time. We did a little cross-country skiing on the last snow of the season at the Echo Ridge Nordic Ski Area which luckily was just up high enough that the trails were open. It was literally bare dirt all the way up the hill until, suddenly, snow! Then we availed ourselves of the many wineries in the area and had a fantastic time. Cabernet! Viognier! Gewurztraminer! They grow a huge variety of grapes here and are very excited about the new Columbia Valley AVA designation.
To get there, we drove up near Seattle on I-5 and then over, passing through the little Bavarian town of Leavenworth. Did I say Bavarian? Yes, I did. Sometime in the 1960s in an attempt to save their town from financial ruin, some enterprising folks decided that Leavenworth could become a destination. They invented the Bavarian concept and ran with it — all the places on main street are tarted up like hearty Alpine Volkesmarchers with Willkommen! signs and gingerbread filigree and excellent murals. However, they managed to stay just this side of a total Disneyland spectacle and we were pretty charmed by the ingenuity of it all.
On the way into town, I googled up some recommended places to eat and to see if they had a cheese shop. I wouldn’t be writing this post if they didn’t!
Read the rest of this entry »
Permalink
February 15, 2010 at 11:41 am
· Filed under amanda, events
Here in the Northwest we are blessed to have many different sources for good, local, healthy food; it’s literally right out our front door. Though the bounty may be near, for many it is simply out of reach. Given our current terrible recession and the stress it has placed on resources, more and more people are finding it difficult to cover the necessities of life including food. Record numbers have been turning to the Oregon Food Bank and this well-run organization is doing its best to meet the demand. I know there are a lot of organizations who need funds right now but if you can spare a little, please help this local organization meet the needs in your community today.
This is the second annual Blog For Food Oregon Food Drive supported by local food bloggers to get the word out. It runs from February 15th to March 15th. To participate in this food drive, go to the Oregon Food Bank donation page and donate any amount that you are able. Please include “Blog for Food” in the “In Honor Of” section.
If you are a blogger interested in participating go to Pacific Northwest Cheese Project for more info.
Thank you!
Permalink
